
Default Camera Settings
These are the default settings that should be used with the DRS camera with IRIS software
Home Screen
Select the wrench and screwdriver in the upper left corner next to the power button.

Fields Tab

Fields tab
Single field = Central

Exam tab
- Exam sub-tab
- Seconds to wait between subsequent snapshots = 10
- Seconds to wait between two subsequent stereo snapshots = 0
- Blinking fixation = off
- Automatic chinrest = off

Savings sub-tab
- Enter clinic name in field
- Next three options = off

Advanced sub-tab
- Exposure value = 2
- Check lenscap presence at exam start = on
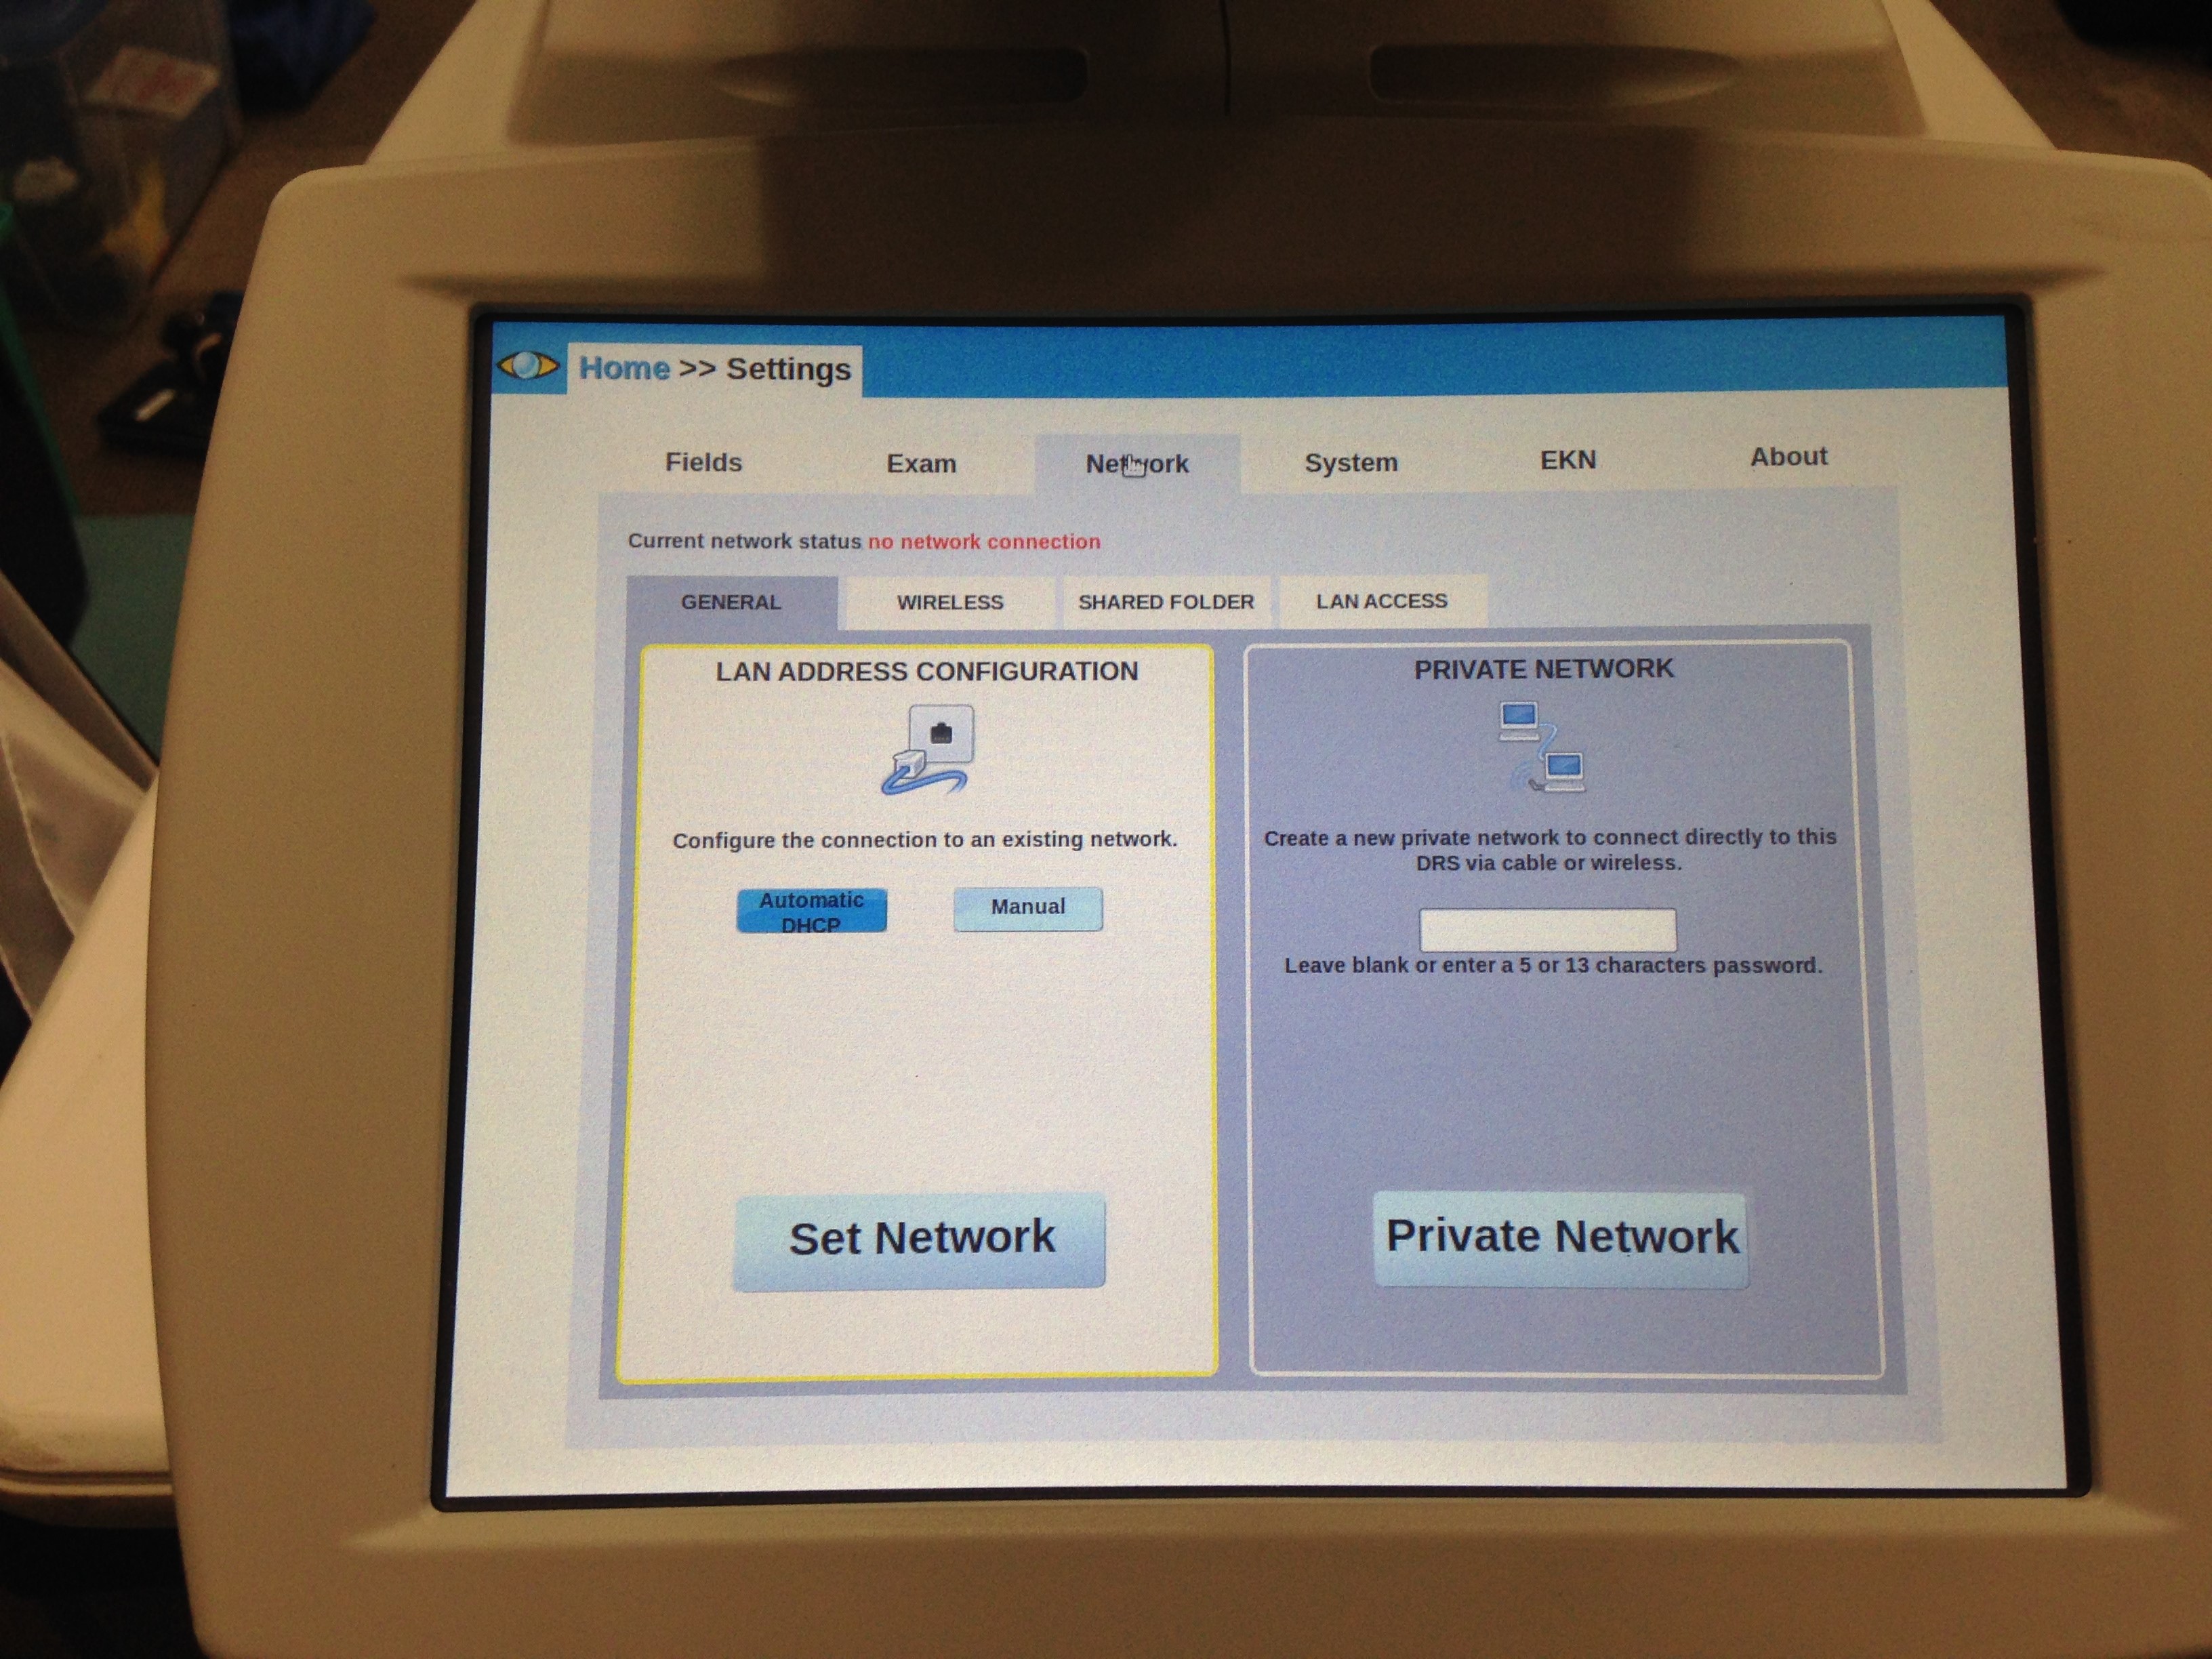
Network Tab
General:
- Lan address configuration = Automatic DHCP
- Click on Set Network = once it's set you should have a Current network status that is green and gives you the IP address
Wireless:
- Disable wireless configuration when using the camera in a LAN setting

Shared Folder :
- Enable export of exam images on shared folder = on
- images are saved on the DRS shared folder = remote
- Choose file type to export = DICOM
- Choose manual mode
If shared folder connection fails check the confuration
- Network folder 1 of 4 : Inste the host name or IP address of the device where the network folder is present
- Network folder 2 of 4 : Insert the shared folder name preset on the host name or IP address (default is "images")
- Network folder 3 of 4 : Windows user name and password to access the share folder
- Network folder 4 of 4 : Informs you if the connection was successful

System Tab:
- Set the current time and date
About Tab:
- Mac address
Comments